In the world of computers, sometimes you need to control another machine from afar. Imagine you have a super powerful computer in the basement, but you want to use it from your comfy upstairs chair. Telnet is a tool that lets you do just that! It’s like a remote control for computers, but instead of buttons, you use text commands.
However, Telnet is a bit old-fashioned and doesn’t have the best security features. That’s why it’s turned off by default on Windows 10 and 11. But fear not! This guide will show you how to safely enable Telnet if you really need it.
Installing Telnet on Windows 10 or 11
This section is optional because most people won’t need Telnet. It’s really for techy folks who manage older computer systems or certain network devices (like routers or switches). also read about Is Windows 11 Really More Stable Than Windows 10?
- Legacy Systems and Network Devices:
- Telnet was widely used in the past for remote administration and debugging of network devices, routers, switches, and servers.
- Some legacy systems and devices still rely on Telnet for management and configuration.
- If you work with older hardware or software, enabling Telnet can be essential to maintain compatibility.
- Network Troubleshooting:
- Telnet allows you to test network connectivity and check if specific ports are open.
- For example, you can use Telnet to verify whether a web server is responding on port 80 (HTTP) or port 443 (HTTPS).
- It’s a quick way to diagnose network issues without installing additional tools.
- Educational and Learning Purposes:
- Telnet provides a simple and transparent way to understand how network protocols work.
- By interacting with Telnet sessions, you can learn about the underlying communication mechanisms.
- Aspiring network administrators and security professionals often study Telnet as part of their training.
- Scripting and Automation:
- Telnet can be scripted using batch files, PowerShell, or other scripting languages.
- You can automate repetitive tasks, such as sending commands to a remote device via Telnet.
- However, exercise caution due to security risks associated with plaintext transmission.
- Temporary Access to Remote Systems:
- In some scenarios, Telnet might be the only available method to access a remote system.
- For example, during initial setup or troubleshooting, Telnet can provide temporary access until more secure alternatives are configured.
- Historical Significance:
- Telnet played a crucial role in the early days of the internet.
- Understanding its history and significance contributes to a comprehensive knowledge of networking technologies.
Remember that while Telnet has its uses, it’s essential to weigh the benefits against the security risks. Always prioritize security.
Enable Telnet on Windows 10/11
There are three ways to enable Telnet on Windows 10 and 11. We’ll explore these methods, so you can choose the one that feels most comfortable for you.
Method 1: Using Control Panel
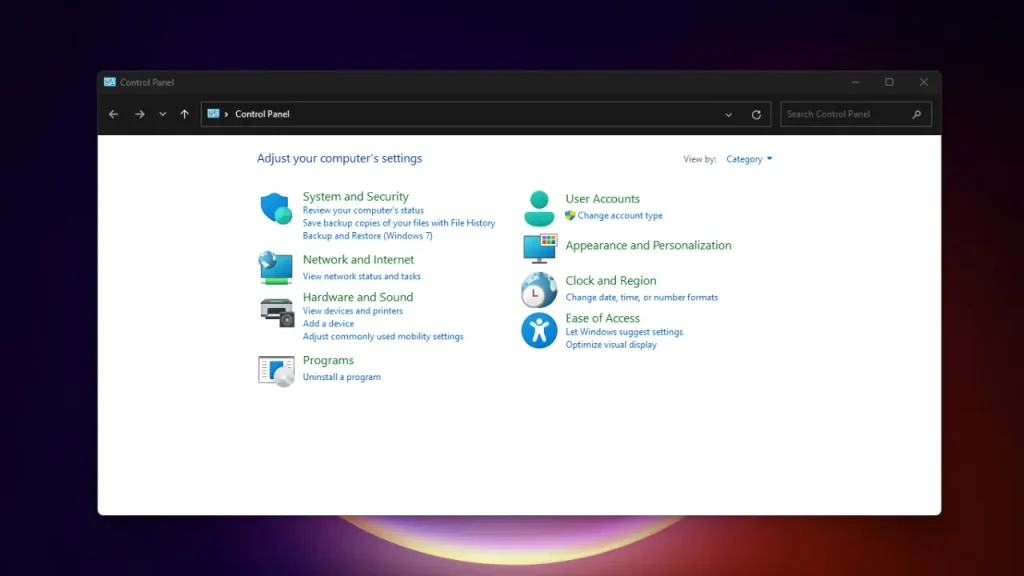
This method uses the familiar Control Panel interface. Here’s how to do it:
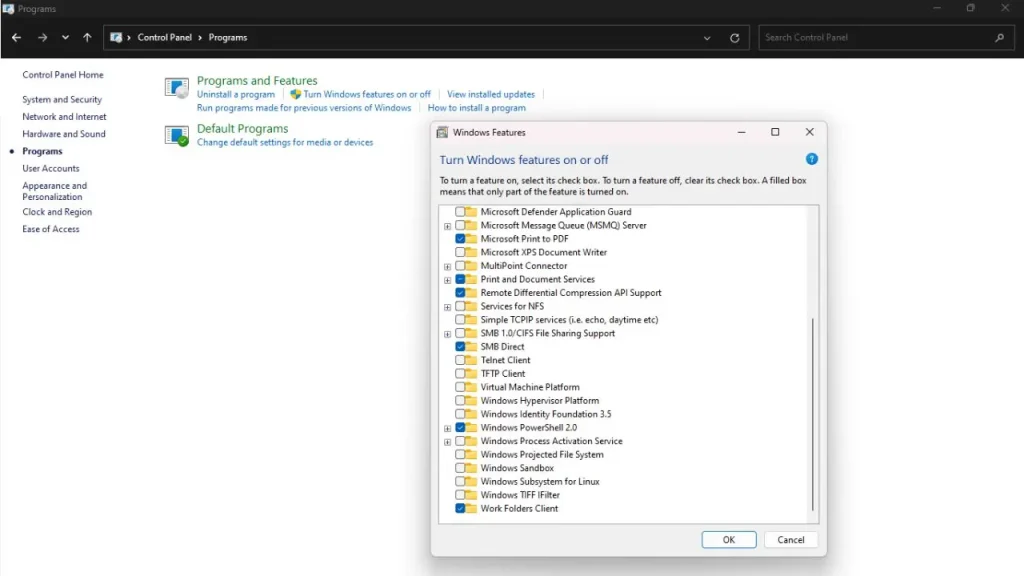
- Search for “Control Panel” in the Windows search bar.
- Click on “Control Panel” to open it.
- Inside Control Panel, you might need to switch the view to “Category” by clicking on “View by” in the top right corner and selecting “Category“.
- Now, click on “Programs and Features“.
- On the left side, you’ll see a menu. Click on “Turn Windows features on or off“.
- A new window will pop up with a list of features. Scroll down until you find “Telnet Client“.
- Put a checkmark next to “Telnet Client“.
- Click “OK” at the bottom of the window.
Windows might take a few seconds to install Telnet. Once it’s done, you’ll be good to go!
Method 2: Using Command Prompt/PowerShell
This method uses commands to enable Telnet. It’s a bit more technical, but if you’re comfortable with using Command Prompt or PowerShell, here’s how:
Using Command Prompt:
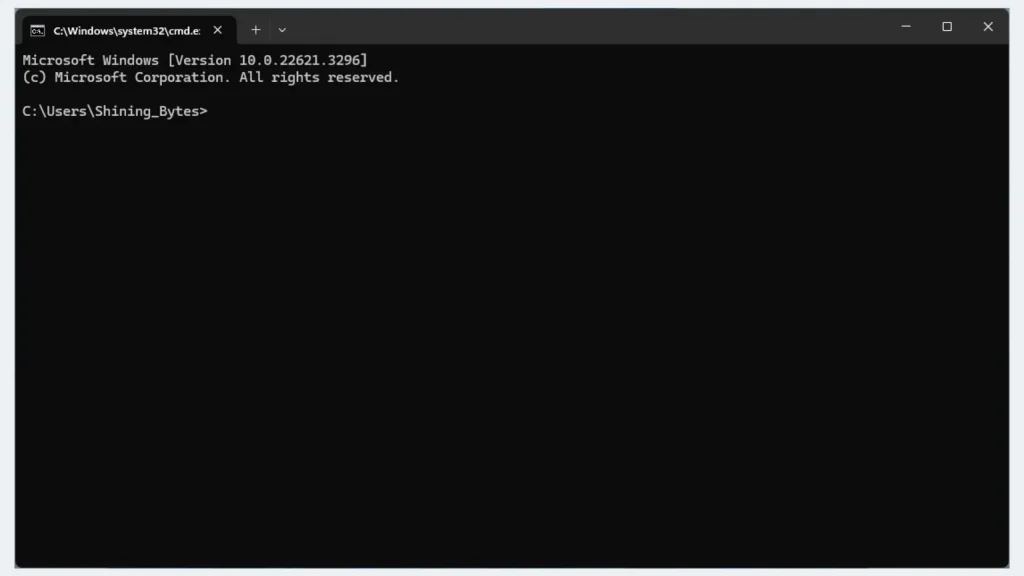
- Search for “Command Prompt” in the Windows search bar.
- Right-click on “Command Prompt” and select “Run as administrator” (important!).
- In the Command Prompt window, type the following command and press Enter:
dism /online /Enable-Feature /FeatureName:TelnetClient
Using PowerShell:
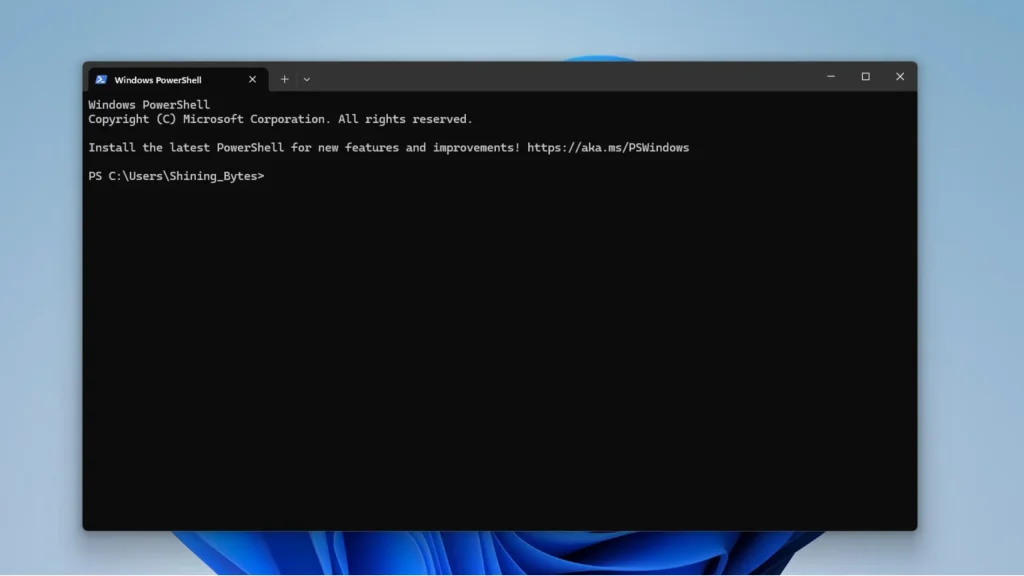
- Search for “PowerShell” in the Windows search bar.
- Right-click on “PowerShell” and select “Run as administrator” (important!).
- In the PowerShell window, type the following command and press Enter:
Install-WindowsFeature TelnetClient
Both commands will enable Telnet. You might see a progress bar indicating the installation.
Method 3: Using third-party tools for enabling Telnet
While the built-in methods for enabling Telnet on Windows 10 and 11 are straightforward, some users prefer third-party tools for added flexibility or additional features. Here are a few third-party options you can explore: PuTTY, Tera Term, SecureCRT and MobaXterm.
- Security Risks: Third-party tools can be a security risk, especially when dealing with something as sensitive as remote access. There’s a chance they might contain malware or introduce vulnerabilities.
- Unnecessary: The built-in methods (Control Panel and Command Prompt/PowerShell) are generally safe and effective for enabling Telnet on Windows 10/11.
- Focus on Official Methods: This guide focuses on providing users with safe and reliable ways to enable Telnet through official Windows features.
We can address the need for alternative methods by mentioning this in the existing “Why Enable Telnet? (Optional)” section: By focusing on the official methods and highlighting the security risks, we can provide a more secure and user-friendly guide.
While these methods are the most recommended way to enable Telnet, it’s important to remember that Telnet transmits data without encryption. This means information sent through Telnet could be intercepted by others on the network. It’s generally recommended to use more secure methods like SSH whenever possible.
Testing Telnet Connection
Once you’ve enabled Telnet, you can test it to see if it’s working. Here’s a basic example:
- Open Command Prompt:
- Press Win + R, type cmd, and hit Enter.
- Alternatively, search for “Command Prompt” in the Start menu.
- Telnet to a Remote Host:
- In the Command Prompt, type:
- telnet <hostname> <port>
- Replace with the actual hostname or IP address of the remote server you want to connect to. Replace with the specific port number (usually 23 for Telnet).
- Check the Connection:
- If the connection is successful, you’ll see a blank screen with a cursor.
- If it fails, you’ll receive an error message indicating the reason (e.g., “Could not open connection to the host”).
- Exit Telnet:
- To exit Telnet, press Ctrl + ], followed by typing quit and hitting Enter.
- Remember to replace and with the relevant details. Happy testing! ????????
Security Considerations (Important)
Telnet, while a functional tool for remote access, has a major drawback: it lacks encryption. This means any data sent through a Telnet connection, including usernames, passwords, and commands, can be easily intercepted by someone snooping on the network. This poses a significant security risk, especially on public or unsecured networks.
Plaintext Transmission:
- Telnet sends data in plaintext, which means that any information (including usernames, passwords, and commands) is visible to anyone monitoring the network.
- Attackers can easily intercept and read sensitive data exchanged during Telnet sessions.
- Mitigation: Whenever possible, use secure alternatives like SSH (Secure Shell) that encrypt the communication.
How to Skip Adding a Microsoft Account in Windows 11
Lack of Authentication and Encryption:
- Telnet lacks robust authentication mechanisms. It typically relies on simple username/password pairs.
- There is no built-in encryption for Telnet traffic.
- Mitigation: If you must use Telnet, consider implementing additional security layers, such as IP filtering or VPNs.
Vulnerabilities and Exploits:
- Telnet has known vulnerabilities, including buffer overflows and remote code execution.
- Attackers can exploit these weaknesses to compromise systems.
- Mitigation: Keep your Telnet client and server up to date. Disable Telnet when not needed.
Default Ports and Banner Grabbing:
- Telnet usually operates on port 23 by default.
- Attackers can perform banner grabbing (reading the initial server response) to identify Telnet services.
- Mitigation: Change the default port or use port knocking techniques to obscure Telnet services.
Brute-Force Attacks:
- Since Telnet lacks strong authentication, it is susceptible to brute-force attacks.
- Attackers can repeatedly guess usernames and passwords.
- Mitigation: Implement account lockout policies and use strong, unique passwords.
Logging and Auditing:
- Telnet sessions are often not well-logged.
- Lack of proper auditing makes it challenging to trace unauthorized access.
- Mitigation: Enable detailed logging and regularly review logs for suspicious activity.
Telnet Sniffing:
- Attackers can use packet sniffers to capture Telnet traffic.
- This allows them to extract sensitive information.
- Mitigation: Use encryption (e.g., SSH) to protect data in transit.
Legacy Systems and Services:
- Some legacy systems still rely on Telnet for management.
- These systems may not support modern security features.
- Mitigation: If possible, migrate away from Telnet to more secure protocols.
Remember that while Telnet has its uses, it should be used cautiously and only when necessary. Whenever possible, opt for more secure alternatives to protect your data and systems.
Conclusion
This guide has explored how to enable Telnet on Windows 10 and 11. We’ve covered three methods using the Control Panel and Command Prompt/PowerShell for your convenience. While Telnet can be a helpful tool for remote access in specific situations, it’s crucial to remember its security limitations.
Here are some key takeaways:
- Telnet transmits data unencrypted, making it a security risk on untrusted networks.
- Secure alternatives like SSH are generally preferred for remote access.
- If you must use Telnet, exercise caution and limit its use to trusted environments.
By understanding the security considerations and using Telnet responsibly, you can ensure your remote access needs are met without compromising security.








One Response
Good post. I lewrn something new and challenging on sites I
stumbleupon every day. It’s always interesting to read through articles from other writers and practice