
Ever feel like your computer’s running slower than a turtle on vacation? 🐢
Well, that might be because your power plan is holding it back!
Windows 10 and 11 come with different power modes that balance energy and performance. But if you want your system to really flex its muscles, enabling the High Performance power plan is the way to go.
In this guide, we’ll walk through exactly how to enable high performance power plan in Windows 10/11 — step by step, no tech degree required.
Why Your PC Needs the High Performance Power Plan 💡
Before we hit the switches, let’s quickly understand why this power plan is a game-changer.
Think of your CPU (the brain of your computer) as a race car engine.
- Balanced: This is like using cruise control. It gives you enough gas to get by but keeps the speed capped to save fuel. It dynamically adjusts power based on usage.
- Power Saver: This is “eco mode.” It aggressively reduces performance and clock speeds to extend battery life or save energy. Everything slows down.
- High Performance: This is full throttle, pedal to the metal! 🏎️ This plan tells your CPU, graphics card, and other components to ignore power limits and run at their maximum possible clock speeds whenever possible.
When should you use this awesome setting?
- Gaming: Say goodbye to unexpected framerate drops.
- Video Editing/Rendering: Cut down on those tedious waiting times.
- Heavy Multitasking: Keep dozens of browser tabs open without a hitch.
- Running complex simulations or software.
Ready to get this extra juice? Here’s the trick!
🧰 How to Enable High Performance Power Plan (Windows 10/11)
Alright, time to bring your PC to life! Let’s go step-by-step.
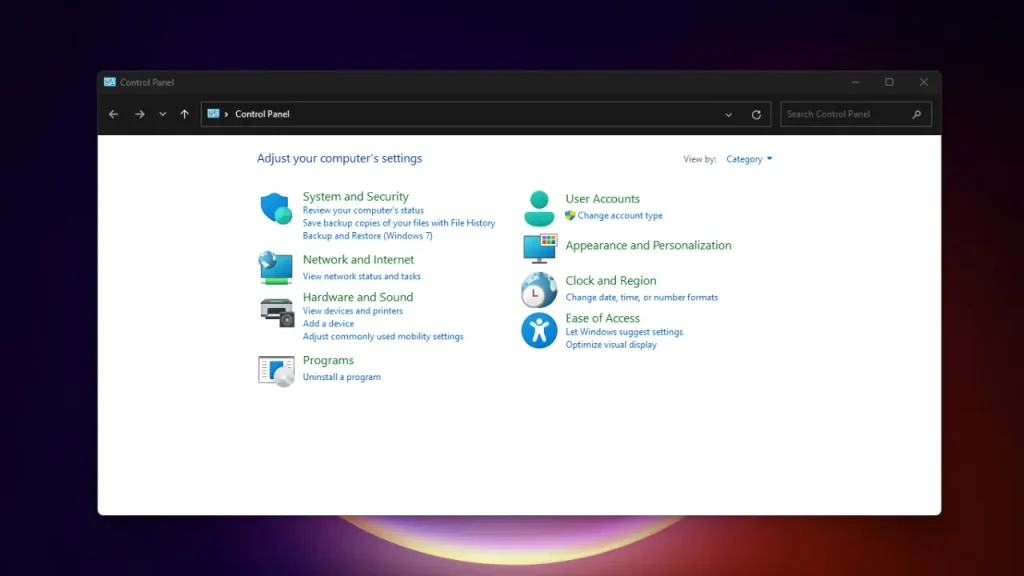
🪟 Step 1: Open Power Options
- Right-click on the Start Menu and select Power Options.
- Scroll down and click Additional power settings (under “Related settings”).
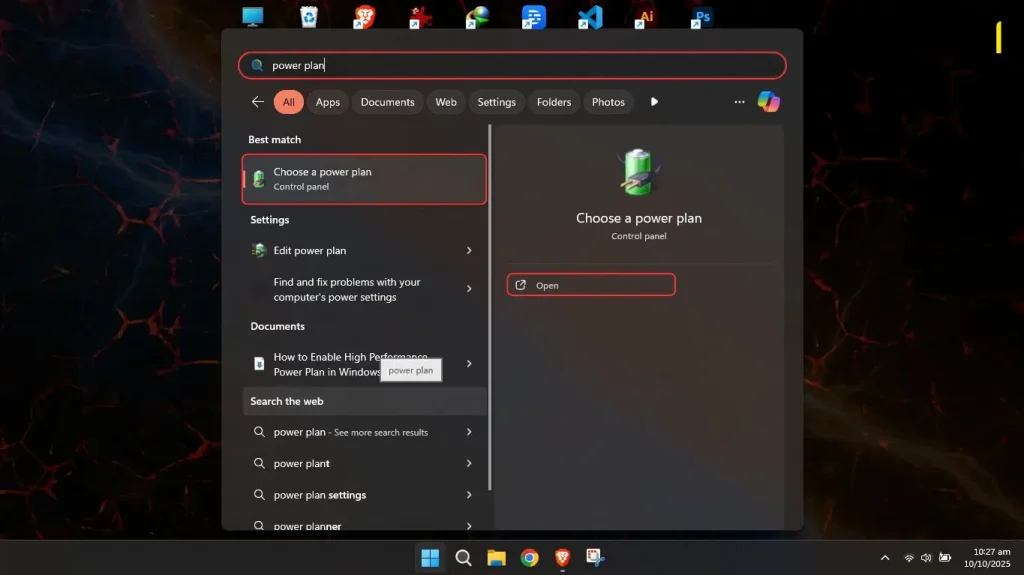
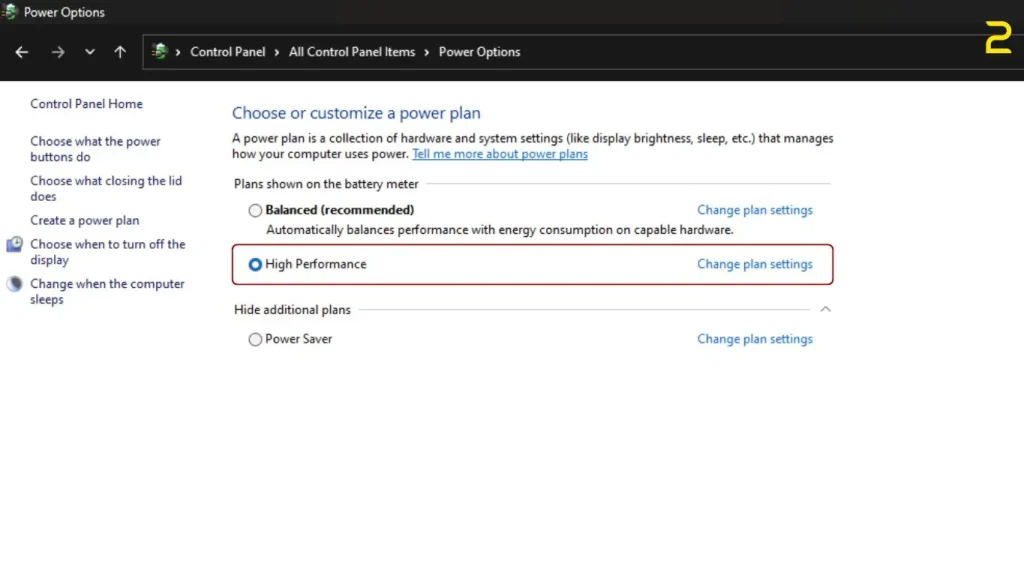
⚙️ Step 2: Choose the High Performance Plan
- In the new window, click Show additional plans if you don’t see it right away.
- Select High performance. Boom! It’s now activated.
If you’re on a laptop, you might notice your battery draining faster — that’s normal since the system’s using more juice for extra performance
Creating a Custom High-Performance Plan (The Pro Move)
Want to get even more granular control? You can create a custom power plan based on the High Performance settings, which is a great way to ensure specific components behave exactly how you want them to.
How to Create Your Own Max Power Profile
- Open Power Options (Same as Step 1 & 2 above).
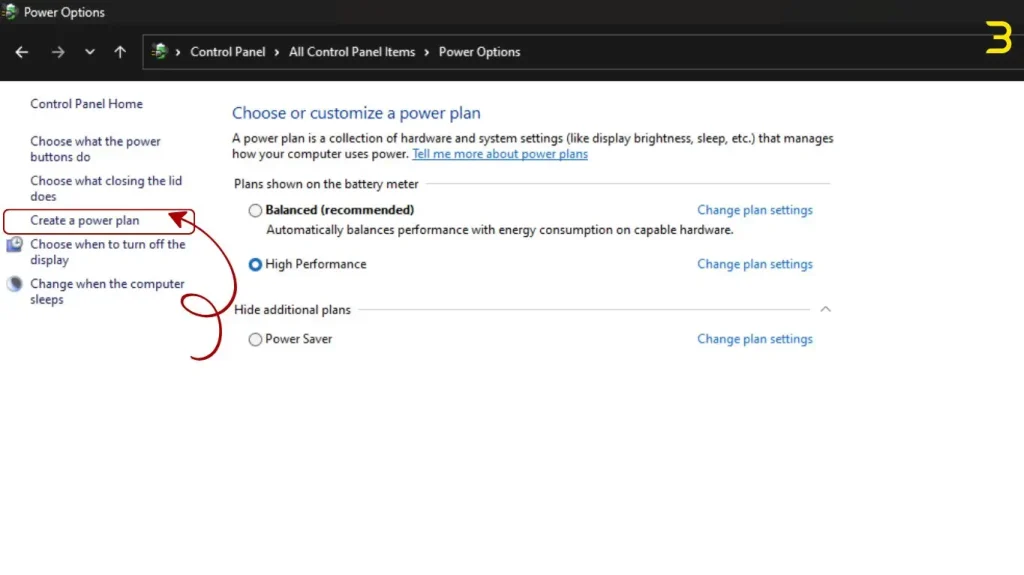
- On the left-hand menu, click “Create a power plan.”
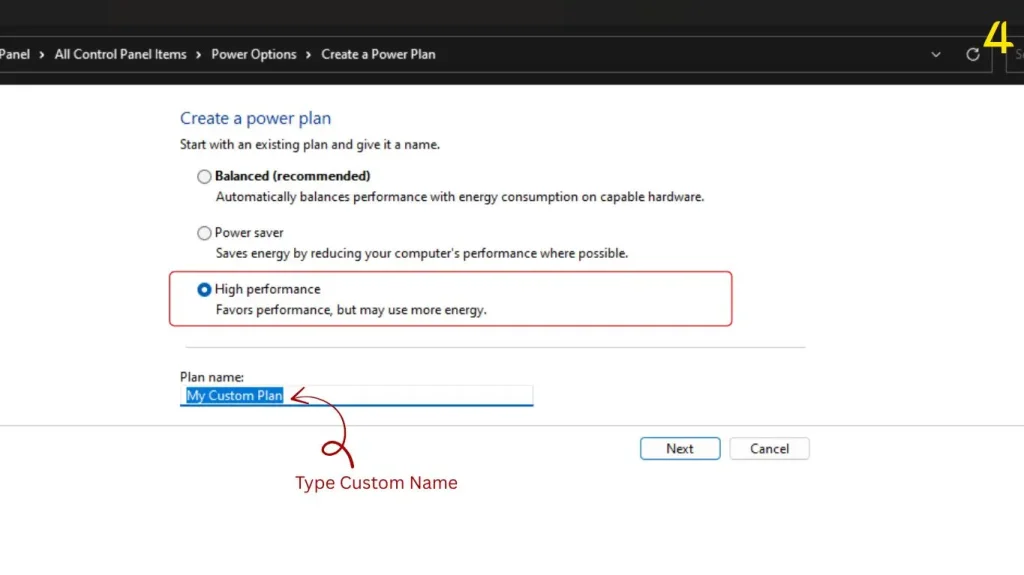
- Choose a Starting Template: Select “High performance” as your starting point.
- Name Your Plan: Give it a cool, memorable name, like “Turbo Mode” or “Max Speed Plan.” Click Next.
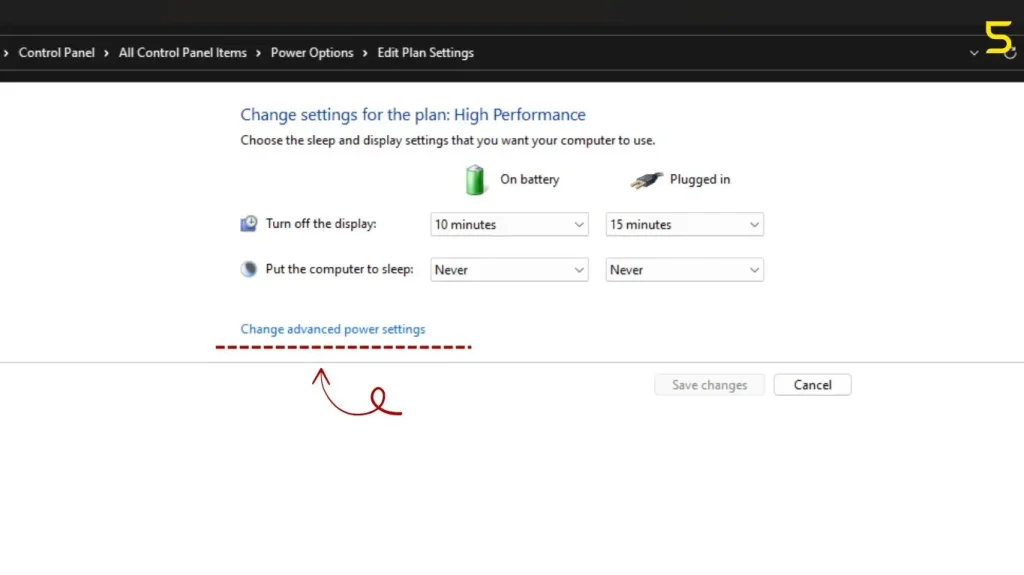
- Customize Settings: Here, you can adjust when the display turns off or the PC sleeps. For maximum performance, you might want to set both to “Never” (especially if you’re rendering something!). Click “Create.”
- Advanced Tweaks (Optional but Fun!): For the ultimate control, click “Change plan settings” next to your new plan, then click “Change advanced power settings.”
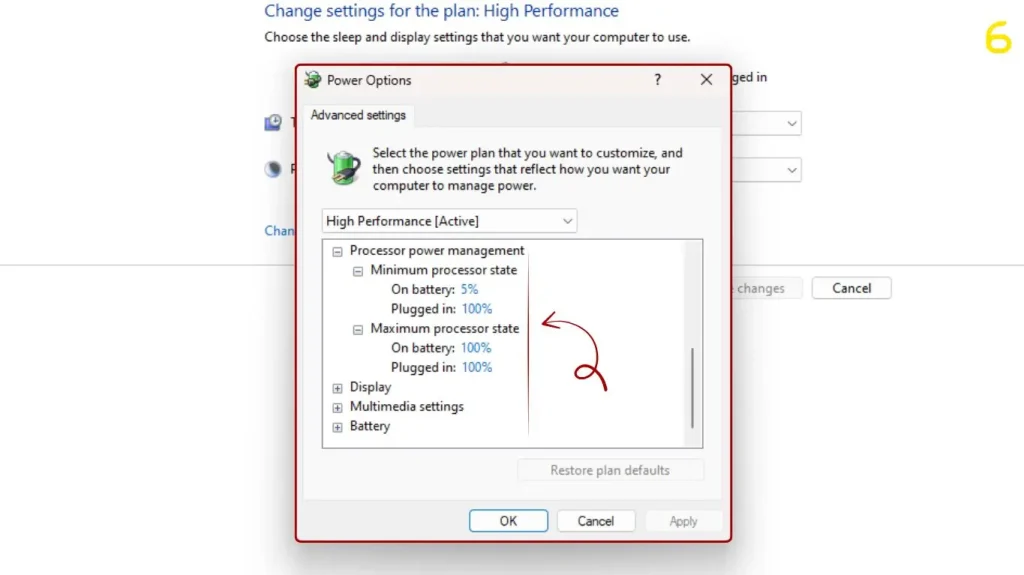
Inside the advanced settings, look for Processor power management. Make sure both Minimum processor state and Maximum processor state are set to 100%. This locks your CPU into its top gear!
.
🧑💻 For Advanced Users: Enable It via Command Prompt
Want to feel like a tech wizard? 🧙♂️ Try this method:
- Press Win + X and select Windows Terminal (Admin).
- Type this command and hit Enter:
powercfg -setactive SCHEME_MIN
This command instantly switches your PC to the High Performance plan — no clicking around required.
⚡ Bonus Tip: Use the “Ultimate Performance” Plan (Windows 10 Pro/11 Pro)
If you’re running a Pro or Enterprise edition, there’s an even stronger plan called Ultimate Performance — designed for heavy workloads and gaming rigs.
To enable it:
- Open Command Prompt (Admin).
- Type this and press Enter:
powercfg -duplicatescheme e9a42b02-d5df-448d-aa00-03f14749eb61 - Go back to your Power Options — you’ll see Ultimate Performance added. Select it and enjoy turbo mode! 🚀
🧩 Why You Might Not Always Want It On
Before you go full throttle forever — a quick heads-up:
- Your laptop battery will drain faster.
- Your fans might get noisier.
- It’s not ideal for everyday browsing or office tasks.
So, it’s best to toggle it only when you need maximum power — like gaming, rendering, or multitasking.
🧠 Quick Summary
Here’s the TL;DR version for your future self 👇
✅ Go to: Start → Power Options → Additional power settings
✅ Select: High performance (or Ultimate performance for Pro users)
✅ Use when: Gaming, editing, or running heavy apps
✅ Avoid: When on battery or doing light tasks
Switching to the High Performance power plan is like telling your PC, “Hey, stop holding back!” It’s a simple tweak that can make a big difference, especially for gamers, creators, or anyone who needs their machine to keep up with their hustle. Plus, it’s reversible, so you can always switch back if needed.
If you found this guide helpful, you’ll love some of our other Windows tutorials too! 💡
Check out these quick reads to make your PC experience even smoother:
- How to Increase Font Size in Windows 11 — make text easier on the eyes.
- Best Ways to Speed Up Windows 10 Without Reinstalling — boost performance like a pro.
- How to Complete Shutdown Windows 10/11 — stop hidden background tasks and save your battery life. 🔋
Each one is packed with simple steps, screenshots, and tips to help you get the best out of your Windows system. 🚀
❓ Power Plan FAQ
Q1: Is High Performance mode bad for my PC?
A: Not at all! It’s perfectly safe. It simply instructs your components to run at their intended maximum speeds. However, it will cause your PC to consume more power and run slightly hotter. If you have a good cooling system, you have nothing to worry about.
Q2: Should I use High Performance mode on my laptop?
A: Only when plugged in! Using the High Performance power plan while on battery will dramatically drain the battery life, sometimes cutting it in half or more. Stick to Balanced or Power Saver when unplugged to extend your usage time.
Q3: Why is my high-performance plan missing?
A: It might be hidden! In the Power Options control panel, look for the “Show additional plans” dropdown arrow. If it’s still missing, your manufacturer may have removed it, but you can always re-enable high performance power plan by manually creating a custom plan (Method 2) or enabling the hidden Ultimate Performance plan (Pro Tip).