Microsoft Edge, the default web browser in Windows 11, comes pre-installed with the operating system. While Edge offers several features and improvements over its predecessor, some users may prefer alternative browsers or have specific reasons for wanting to remove it.
In this guide, we’ll explore why you might consider uninstalling Microsoft Edge and provide step-by-step instructions on how to do so. Whether you’re seeking a different browsing experience or simply want to streamline your system, understanding the process is essential.
Why Uninstall Microsoft Edge?
Here are some common reasons why users might consider uninstalling Microsoft Edge in Windows 11:
- Personal Preference for Other Browsers:
- Some users have a strong preference for alternative web browsers, such as Google Chrome, Mozilla Firefox, or Opera. They may be accustomed to specific features, extensions, or user interfaces offered by these browsers and prefer to use them instead of Edge.
- Desire to Free Up System Resources:
- Microsoft Edge, like any other software, consumes system resources (CPU, memory, etc.). Users who want to optimize their system’s performance may choose to uninstall Edge to free up these resources for other applications.
- Privacy Concerns:
- Privacy-conscious users may have reservations about Edge’s data collection practices, telemetry, or integration with Microsoft services. Uninstalling Edge can provide peace of mind for those who prioritize privacy.
- Remember that uninstalling Edge is a personal decision, and users should weigh the pros and cons based on their individual needs and preferences. In the next section, we’ll delve into the step-by-step process of uninstalling Microsoft Edge from Windows 11. ????
Uninstalling Microsoft Edge: Proceed with Caution
Microsoft Edge is deeply integrated into Windows 11, serving as the default web browser. Removing it requires careful consideration, as it impacts various aspects of your system. Here are some key points to keep in mind:
- System Integration:
- Edge is tightly woven into the OS, handling tasks such as PDF viewing, Cortana, and system notifications. Uninstalling it may affect these functionalities.
- Cautionary Steps:
- Before proceeding, create a system restore point or back up your data. This ensures that you can revert any changes if needed.
- Be aware that uninstalling Edge is irreversible unless you reinstall Windows 11.
- Alternative Browsers:
- If you’re uninstalling Edge to switch to another browser, ensure that your preferred browser is already installed.
- Resource Considerations:
- Edge consumes system resources. If you’re freeing up space, evaluate whether the gain justifies the loss of functionality.
- Remember, while uninstalling Edge is possible, it’s not a straightforward process. In the next section, we’ll guide you step by step. Stay tuned!
Preparation Steps: Uninstalling Microsoft Edge
Before proceeding with the uninstallation process, it’s crucial to take the following preparatory steps:
- Install an Alternative Browser:
- To avoid being left without a browser after uninstalling Edge, make sure you have an alternative browser installed. Popular choices include Google Chrome, Mozilla Firefox, and Opera.
- If you haven’t already installed your preferred browser, do so now.
- Set the New Browser as the Default:
- Once you’ve installed an alternative browser, set it as the default browser in Windows 11. This ensures that links and web pages open in your chosen browser by default.
- Here’s how to change the default browser:
- Open Settings:
- Click on the Start button (Windows icon) and select Settings (the gear-shaped icon).
- Go to Apps:
- In the Settings window, click on Apps.
- Default Apps:
- On the left sidebar, click on Default apps.
- Choose Your Default Browser:
- Scroll down to the Web browser section.
- Click on the current default browser (which is likely Microsoft Edge).
- Select your preferred browser from the list (e.g., Chrome, Firefox).
- Confirm the Change:
- Windows will prompt you to confirm the change. Click Switch anyway to set your chosen browser as the default.
- Open Settings:
- Test the New Default Browser:
- Open a link or search for something online to ensure that your new default browser is working correctly.
By completing these preparation steps, you’ll be ready to proceed with uninstalling Microsoft Edge. In the next section, we’ll guide you through the uninstallation process step by step.
Uninstalling Microsoft Edge via Command Prompt
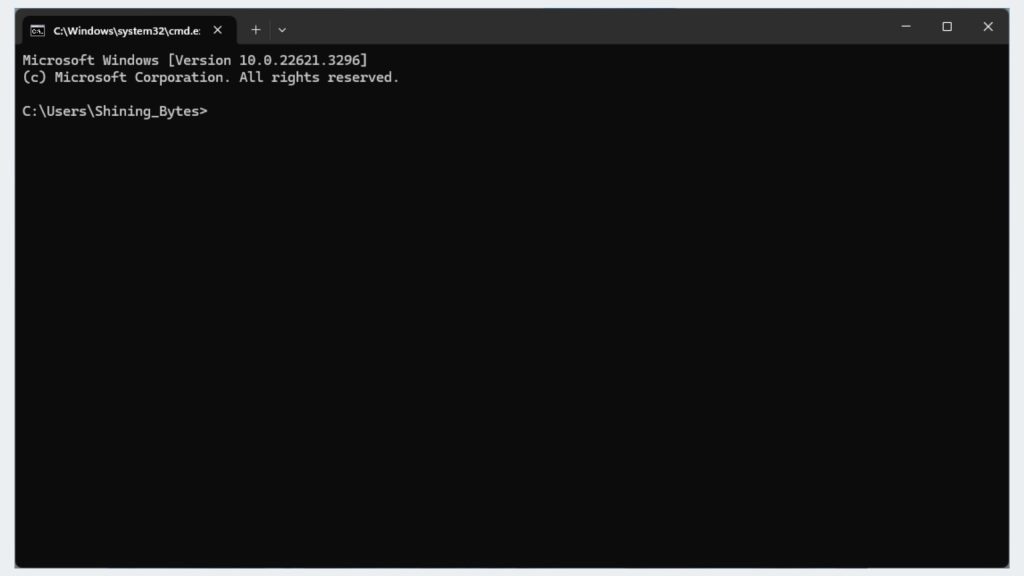
Uninstalling Microsoft Edge isn’t as straightforward as using the standard methods through the Control Panel or Settings. However, if you’re determined to remove it, you can follow these steps carefully. Keep in mind that this process involves using the command prompt and should be approached with caution.
Locate the Edge Installation Folder
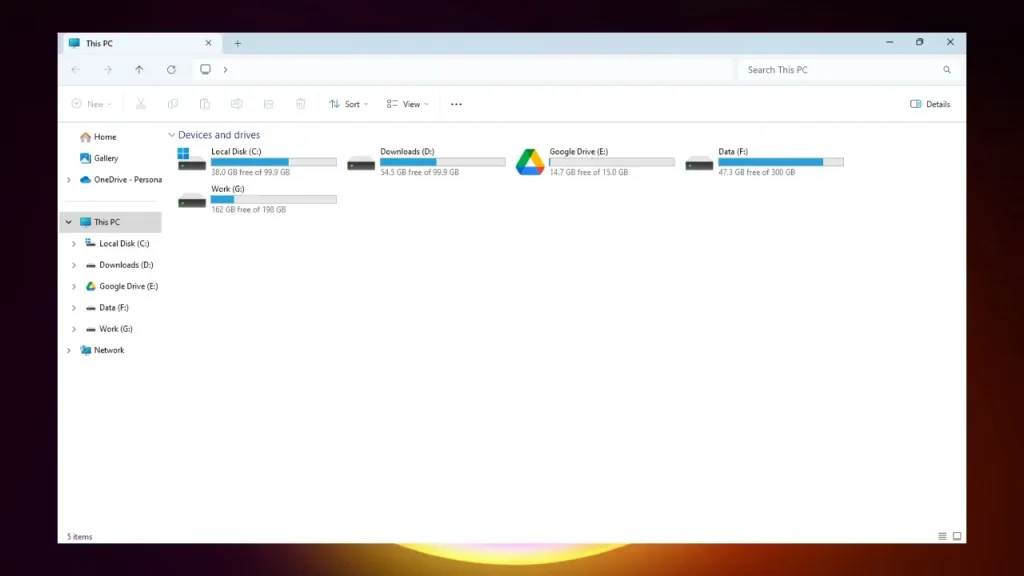
- Open File Explorer:
- Press
Windows + Eto open File Explorer.
- Press
- Navigate to the Edge Installation Folder:
- The default installation path for Microsoft Edge is usually:
C:\Program Files (x86)\Microsoft\Edge\Application\\Installer- Replace with the actual version number (e.g., 101.0.1210.32).
Open Command Prompt with Administrative Rights
- Search for “cmd”:
- Press
Windows + S, type cmd, and select Command Prompt from the search results. - Right-click on Command Prompt and choose Run as administrator.
- Press
Navigate to the Edge Installer Folder
- Change Directory:
- In the command prompt, type the following command and press Enter:
cd "C:\Program Files (x86)\Microsoft\Edge\Application\\Installer"- Replace with the actual version number.
Uninstall Edge
- Execute the Uninstall Command:
- Type the following command and press Enter:
setup.exe --uninstall --system-level
Modifying Registry Editor (For Advanced Users)
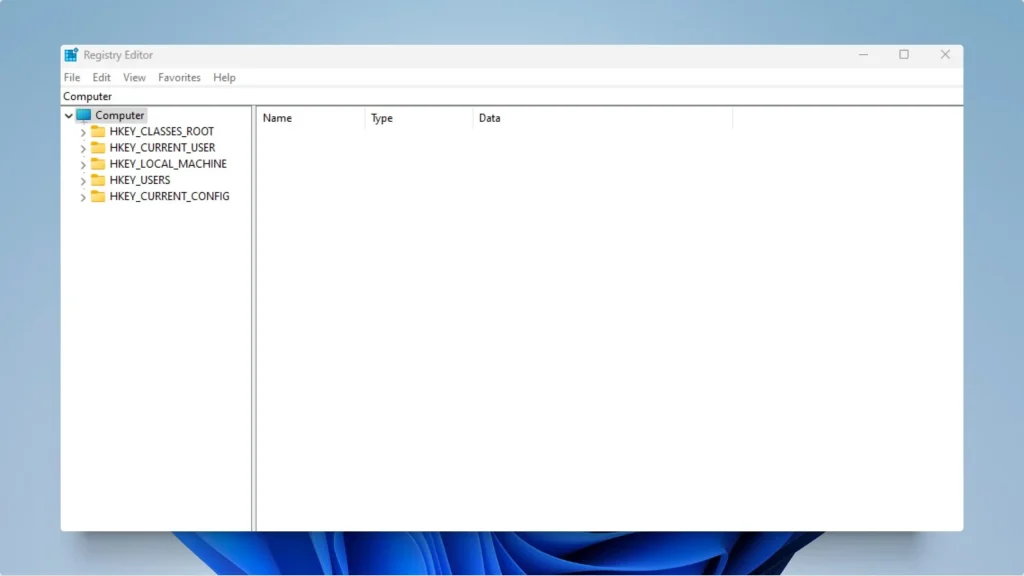
Warning: Modifying the registry can be risky if done incorrectly. It’s recommended to only proceed with this option if you’re comfortable with editing system settings. Create a system restore point before making any changes.
Here’s how to uninstall Microsoft Edge using the Registry Editor:
Access Registry Editor
- Press the
Windows Key + Rto open the Run dialog box. - Type regedit and press Enter.
- Click Yes if prompted by User Account Control (UAC).
Navigate to Uninstall Key
- In the Registry Editor window, navigate to the following key:
HKEY_LOCAL_MACHINE\SOFTWARE\WOW6432Node\Microsoft\Windows\CurrentVersion\Uninstall\Microsoft Edge
You can either manually explore the folders in the left pane or copy and paste the entire path into the address bar at the top of the Registry Editor window.
Modify the NoRemove Value
- In the right pane of the “Microsoft Edge” key, look for a value named NoRemove.
- Case 1: NoRemove Value Exists
- If the “NoRemove” value exists, double-click it.
- In the edit window, change the Value data from 1 to 0.
- Click OK to save the changes.
- Case 2: NoRemove Value Doesn’t Exist
- If you don’t see a “NoRemove” value, right–click on an empty space in the right pane.
- Select New > DWORD (32-bit) Value.
- Name the new value NoRemove.
- Double-click the newly created “NoRemove” value and set its Value data to 0.
- Click OK to save the changes.
Restart Your PC
- Close the Registry Editor.
- Restart your computer for the changes to take effect.
Uninstall Microsoft Edge Through Settings
- After restarting, you should now be able to uninstall Microsoft Edge like any other app through the Settings app.
- Open Settings (
Windows Key + I). - Go to Apps > Installed apps.
- Locate Microsoft Edge in the list and click the uninstall button.
Remember: This method allows you to uninstall Edge through the standard Settings app. However, future Windows updates might reinstall Edge.
Uninstalling Microsoft Edge via PowerShell
If you’re determined to remove Microsoft Edge as your default browser from Windows 11, you can use PowerShell commands to achieve this. Keep in mind that Edge is deeply integrated into the operating system, so proceed with caution.
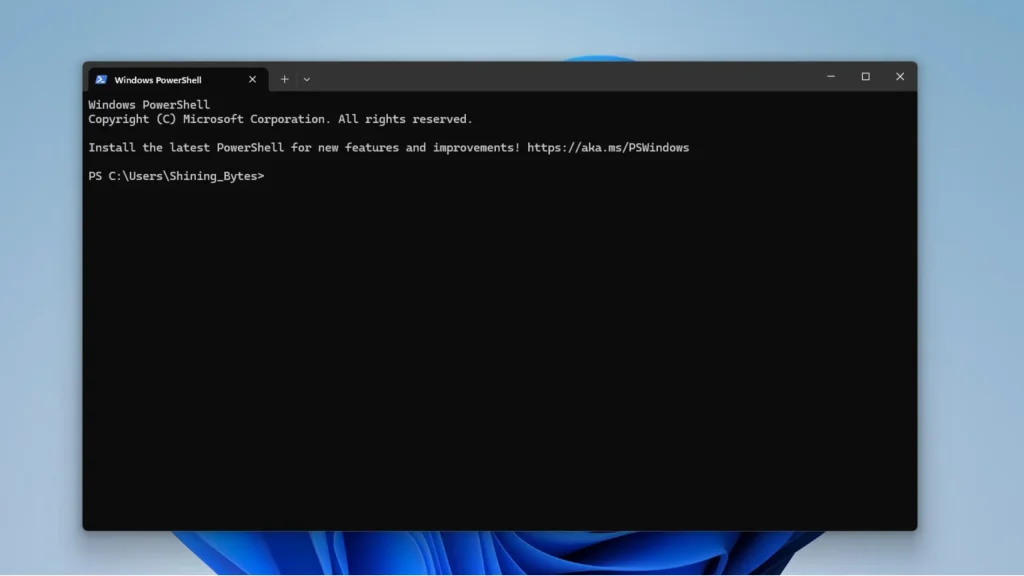
- Step 1: Open PowerShell as Administrator
- Search for ‘PowerShell’:
- In the Windows search bar, type PowerShell and open it.
- You’ll find Windows PowerShell in the search results.
- Right-click on it and select Run as administrator.
- Step 2: Execute the Uninstall Command
- Copy and Paste the Command:
- In the PowerShell window, type or paste the following command:
Get-AppxPackage MicrosoftEdge | Remove-AppxPackage- Press Enter.
- Wait for Completion:
- PowerShell will execute the command, and Microsoft Edge will be removed from your system.
- Step 3: Restart Your System
- After Edge is removed, restart your system for good measure.
- You shouldn’t be able to spot any remaining traces of Microsoft Edge now.
Conclusion
In this guide, we’ve explored several methods for uninstalling Microsoft Edge on Windows 11: using the Settings app (if available) and modifying the registry editor (for advanced users). Remember, uninstalling Edge might not be permanent, as future Windows updates could reinstall it.
Here are some additional points to consider:
- If you’re unsure about uninstalling Edge, you can always disable it instead. This prevents Edge from running in the background but keeps it readily available if needed.
- Before uninstalling, consider what browser you’ll switch to and ensure you have it downloaded and installed.
- Whichever method you choose, remember to back up your system before making any significant changes.
- You can again download Microsoft Edge from your any browser if you feel the need in your laptop
Uninstalling Edge can help free up space and streamline your system. If you skipped a Microsoft account during setup and can’t uninstall Edge through Settings, check out our guide on how to skip adding a Microsoft account in Windows 11:How to Easily Skip Adding a Microsoft Account in Windows 11. For further performance optimization, consider our tips on checking PC power consumption: How To Optimize Your PC for Best Performance.
I hope this guide has helped you successfully remove Microsoft Edge from your Windows 11 system. If you have any questions or need further assistance, feel free to leave a comment below!


