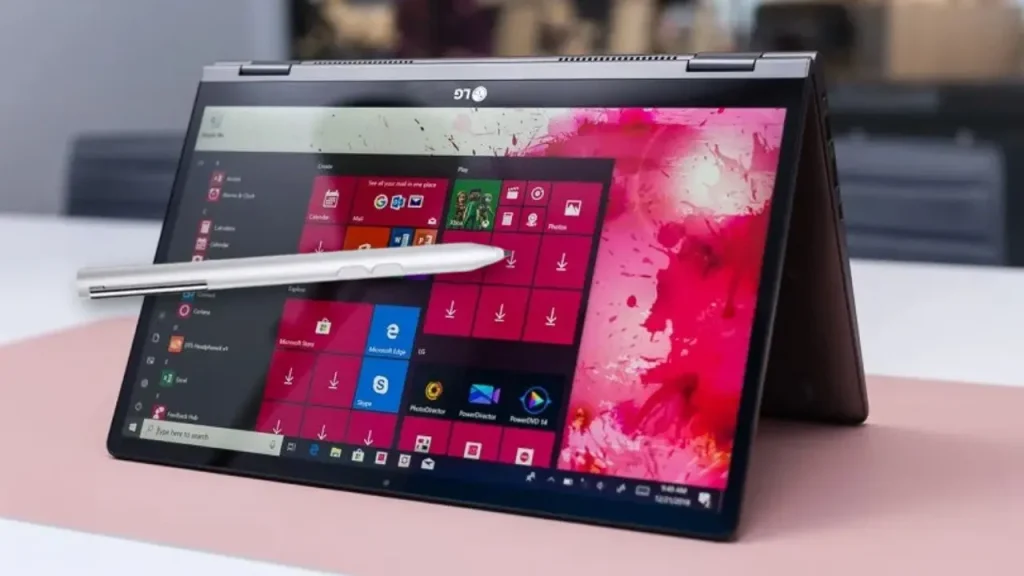
Windows 11 introduces an intuitive touch screen experience for compatible devices, allowing users to interact directly with their screens using gestures like tapping, swiping, and pinching. Whether you’re using a laptop, tablet, or all-in-one PC, enabling the touch screen functionality enhances your overall Windows 11 experience. In this guide, we’ll explore how to activate the touch screen feature, troubleshoot common issues, and ensure smooth responsiveness. Keep in mind that not all Windows 11 devices have touch screens, so check your device specifications to confirm its capabilities1
How To Enabling Touchscreen in Windows 11
In Windows 11, a touchscreen is a display technology that allows users to interact directly with the screen using their fingers or a stylus. It replaces traditional mouse and keyboard input, making navigation more intuitive. To enable the touchscreen, use Device Manager and follow these steps:
- Using Settings:
- Open Settings.
- Click on System.
- Select About.
- Under the Device specifications section, you’ll find details about the processor, system memory (RAM), architecture (32-bit or 64-bit), and pen and touch support.
- If you need to enable or disable the touchscreen, follow these steps:
- Click on Device Manager.
- Expand the Human Interface Devices category.
- Look for HID-compliant touch screen (there may be more than one listed).
- Right-click on it and select Enable device or Disable device, then confirm your choice.
Repeat for any additional touch screen listings.
Remember, not all Windows 11 devices have touchscreens. If you can’t find HID-compliant touch screen, your device may not support touch functionality. ????️????
Testing Touch Screen Functionality
Once you’ve enabled the touch screen on your Windows 11 device, it’s essential to test its functionality. Here’s how:
- Tap and Swipe: Use your finger to tap icons, buttons, and links on the screen. Swipe left, right, up, and down to navigate through apps, menus, and web pages.
- Pinch and Zoom: Place two fingers on the screen and pinch them together or spread them apart to zoom in or out. This gesture is handy for viewing images, maps, and documents.
- Rotate: If your device supports rotation, try rotating the screen by placing two fingers on the display and turning them in a circular motion. This feature is useful for reading e-books or viewing photos.
- Handwriting and Drawing: Open a note-taking app or a drawing program. Use your finger to write or draw directly on the screen. Windows 11 recognizes handwriting and converts it into text.
- Virtual Keyboard: Tap on text fields (like search bars or web forms) to bring up the virtual keyboard. Test typing using both the on-screen keyboard and physical keyboard.
- Multitouch Gestures: Experiment with multitouch gestures, such as using three fingers to swipe between open apps or four fingers to switch desktops (if your device supports these features).
Remember that touch screen responsiveness may vary based on your device’s hardware and sensitivity settings. Enjoy exploring the touch capabilities of your Windows 11 device! ????️????
Why Is Touch Screen Not Working in Windows 11?
The touchscreen on your Windows 11 device might not be working due to various reasons. Let’s troubleshoot and find a solution:
- Run the Hardware and devices troubleshooter:
- Right-click on the Start button and select Run.
- Type cmd and click OK to open the Command Prompt.
- Enter the following command and hit Enter:
msdt.exe -id DeviceDiagnostic
- Follow the troubleshooter’s potential fixes.
- Check for Windows 11 updates:
- Make sure your Windows 11 is up-to-date. Sometimes, updates fix touchscreen issues.
- Verify that the touchscreen is enabled:
- Open Device Manager (search for it in the Start menu).
- Expand the Human Interface Devices category.
- Look for HID-compliant touch screen. If it’s disabled, right-click and select Enable device.
- Restart your PC and check if the touchscreen works.
- Adjust the power setting for HID-compliant touch screen:
- Double-click the HID-compliant touch screen.
- Switch to the Power Management tab.
- Uncheck Allow the computer to turn off this device to save power.
- Click OK and restart your system.
- Update the touchscreen driver:
- Visit your laptop manufacturer’s website or Windows Update to check for driver updates.
Remember to restart your PC after making changes. If the issue persists, consider contacting customer support or seeking professional assistance
Checking the Hardware Specifications
To check the hardware specifications of your Windows 11 device, follow these steps:
- Using Settings:
- Open Settings.
- Click on System.
- Select the About tab on the right side.
- Under the Device specifications section, you’ll find details such as the processor, system memory (RAM), architecture (32-bit or 64-bit), and pen and touch support.
- Using System Information:
- Press Win + R keys to open the Run console.
- Type msinfo32 and press Enter.
- In the System Information window, you’ll see comprehensive details about your hardware components, including the processor, installed RAM, display, and more.
Remember that understanding your device’s specifications can help you troubleshoot issues, ensure compatibility with software, and make informed decisions about upgrades or replacements. If you encounter any problems with your touch screen, verifying these specifications can be a helpful starting point.
Troubleshooting For Touch Screen
If your Windows 11 touch screen isn’t working, there are several steps you can take to resolve the issue. Let’s go through some potential solutions:
- Clean Your Screen:
- Sometimes, dirt, grease, or smudges on the screen can cause unresponsiveness. Use a microfiber cloth to gently clean the screen. If needed, use a mixture of equal parts vinegar and distilled water for stubborn smudges.
- Disable and Re-enable Touchscreen:
- Open the Start menu, type Device Manager, and select it.
- Expand the Human Interface Devices section.
- Right-click on HID-compliant touch screen and choose Disable device. Confirm by clicking Yes.
- Right-click on it again and select Enable device.
- Restart your computer and check if the touchscreen is now working.
- Check for Windows Updates:
- Go to Settings > Windows Update.
- Click Check for updates and install any available patches.
- Sometimes, an update can fix touch screen issues.
Remember to restart your PC after applying these fixes. If the problem persists, consider checking your hardware or seeking professional assistance
Calibrating the Touchscreen
Certainly! Calibrating your touchscreen ensures accurate input and responsiveness. Here’s how to calibrate the touchscreen in Windows 11:
- Press Win + R keys together to open the Run console.
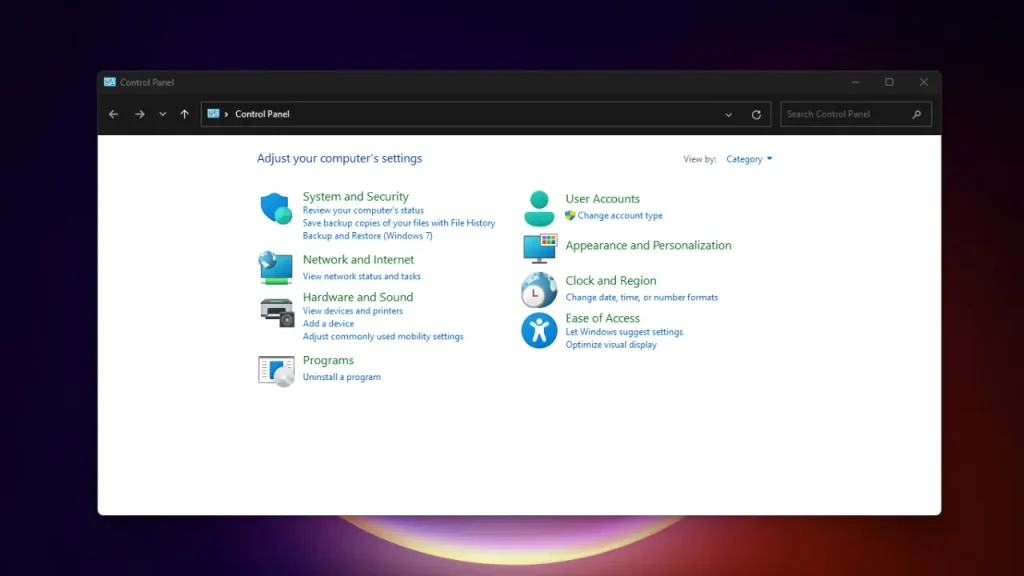
- In the search bar, type control panel and press OK.
- Change the View by field to Category and select Hardware and Sound.
- On the right side, choose Calibrate the screen for pen or touch input.
- Follow the on-screen instructions to complete the calibration process.
Once calibrated, your touchscreen should respond accurately to your touch gestures. Enjoy a smoother experience with your Windows 11 device! ????️????
Updating Drivers for Touch Screen
To update touch screen drivers in Windows 11, follow these steps:
- Open the Device Manager window:
- Press Windows + X and select Device Manager.
- Alternatively, search for “Device Manager” in the Start menu.
- Expand the Human Interface Devices section.
- Right-click on the HID-compliant touch screen device.
- Choose Update driver.
- Select Search automatically for drivers within the Update Drivers tool.
Updating the drivers should help resolve any touch screen issues you’re experiencing. ????️????
How to Activate Windows 11 for Free: Methods You Need to Know
How Do I Enable the Touchscreen with Keyboard?
To enable the touch keyboard on Windows 11 using a keyboard, follow these steps:
- Press Windows + X keys simultaneously to open the Quick Link menu.
- Use the arrow keys to navigate to “Device Manager” and press Enter.
- In Device Manager, navigate to the “Human Interface Devices” section using the arrow keys.
- Expand this section by pressing the right arrow key.
- Locate the option for the touchscreen, often labeled as “HID-compliant touch screen” or similar.
- Use the arrow keys to highlight this option.
- Press the right-click menu key on your keyboard to bring up a context menu.
- Navigate to the “Enable device” option in the context menu using the arrow keys.
- Press Enter to enable the touchscreen functionality.
OR
- Open Settings: Press Win + I to quickly open Windows 11 Settings.
- Navigate to Personalization: In the left pane, select Personalization.
- Access Taskbar Settings: Click on the Taskbar page on the right side.
- Enable Touch Keyboard: In the Taskbar Corner Icons menu, toggle the switch beside Touch Keyboard to turn it On.
Once enabled, you’ll notice a small keyboard icon in the lower-right corner of your taskbar. Click or tap this icon to bring up the virtual touch keyboard whenever needed. You can reposition the keyboard on your screen by tapping and dragging the “handle” line in the upper-center of the keyboard window. When done typing, tap the “X” button in the upper-right corner to hide the keyboard. You can bring it back anytime by tapping the keyboard icon in your taskbar again. or read step by step guide from Microsoft official site.
Disabling Touch Screen on Windows 11
- Begin by opening the Device Manager. You can do this by pressing Windows + X keys simultaneously to access the Quick Link menu, then selecting “Device Manager” using the arrow keys and pressing Enter.
- In the Device Manager window, locate the “Human Interface Devices” section using the arrow keys.
- Expand this section by pressing the right arrow key.
- Look for the option related to your touch screen, which is typically labeled as “HID-compliant touch screen” or similar.
- Once you’ve found the touch screen option, use the arrow keys to highlight it.
- Next, press the right-click menu key on your keyboard to bring up a context menu for the touch screen option.
- In the context menu, navigate to the “Disable device” option using the arrow keys.
- Press Enter to select the “Disable device” option and confirm that you want to disable the touch screen functionality.
- After confirming, the touch screen will be disabled, and you’ll no longer be able to use it for input.
Congratulations! You’ve successfully disabled the touch screen on your Windows 11 device.
FAQs
Let’s dive into the touchy topic of touch screens!
Q: What Is a Touch Screen?
A: Well, a touch screen is like the digital equivalent of a magic carpet ride for your fingers. It’s a display screen that responds to touch, allowing users to interact with it directly, without the need for a mouse or keyboard. Think of it as your computer or phone’s way of saying, “Hey, come touch me!”
Q: What Are the Benefits of Using a Touch Screen?
A: Oh, there are plenty of perks! For starters, it’s super intuitive and user-friendly. You can tap, swipe, and pinch your way through menus and apps with ease. Plus, it’s great for saving space since you don’t need extra peripherals cluttering up your desk. And let’s not forget the cool factor – there’s just something satisfying about poking at a screen and having it respond to your touch.
Q: What Type of Touch Screen Technologies are Available?
A: Ah, the wonderful world of touch screen tech! There are several types out there, including resistive, capacitive, infrared, and surface acoustic wave (SAW) screens. Each has its own way of sensing touch, whether it’s through pressure, electrical fields, or sound waves. It’s like a digital fingerprint – unique and fascinating!
Q: Are There Any Risks to Using a Touch Screen?
A: Well, like with any technology, there are a few downsides to consider. One biggie is smudges and fingerprints – touch screens can quickly turn into a fingerprint fiesta if you’re not careful. And then there’s the dreaded possibility of scratches or cracks if you’re a bit too rough with your tapping. But hey, with a little TLC and a trusty screen protector, you should be golden!
Q: What are Some Alternatives to Touch Screen Technology?
A: If touch screens aren’t your cup of tea, fear not! There are plenty of alternatives to choose from. You’ve got your good ol’ mouse and keyboard combo, voice recognition software for the talkative types, and even good old-fashioned buttons and knobs for those who prefer a more tactile experience. Variety is the spice of life, after all!
Q: What Is Windows 11?
A: Ah, Windows 11 – the shiny new operating system from Microsoft. It’s like the cool kid on the block, with sleek new features and a fresh coat of paint. Think of it as Windows 10’s hip younger sibling, ready to take on the world with style and flair.
Q: What Is Required to Use a Touch Screen with Windows 11?
A: To get touchy-feely with Windows 11, you’ll need a device that supports touch input, like a touchscreen monitor, laptop, or tablet. Oh, and don’t forget the drivers – you’ll want to make sure those are up to date for smooth sailing.
Q: How Do I Enable the Touch Screen on Windows 11?
A: Enabling touch screen on Windows 11 is a piece of cake! Just hop into your device’s settings, head to the “Devices” section, and look for the touch screen option. From there, you can toggle it on and off like a light switch. Easy peasy!
Q: How Do I Calibrate the Touch Screen on Windows 11?
A: If your touch screen is feeling a bit out of whack, you can always give it a tune-up with the calibration tool. Just search for “calibrate” in the Windows search bar, follow the prompts, and voila! Your touch screen will be back in tip-top shape in no time.
Q: Are There Any Issues with Using a Touch Screen on Windows 11?
A: While touch screens on Windows 11 generally work like a charm, there can be the occasional hiccup. Sometimes you might encounter issues like unresponsive touch input or wonky calibration. But fear not – a quick restart or driver update usually does the trick. It’s all part of the tech adventure!







One Response
At this time it sounds like Drupal is the preferred blogging platform out there right now.
(from what I’ve read) Is that what you’re using on your blog?